FRS/BRZ Tail Light Install/Condensation Information
Condensation in Rear Combination Lamp
If you encounter a vehicle which has condensation in the rear combination lamp(s) the boss that houses the mounting stud may be cracked. To verify the condition, the combination lamp will need to be removed and inspected.
|
PART NAME |
PART NUMBER |
|
Lens & Body – CP Right Hand |
84912CA060 |
|
Lens & Body – CP Left Hand |
84912CA070 |
|
Packing (gasket) Right Hand |
84940CA020 |
|
Packing (gasket) Left Hand |
84940CA030 |
The countermeasure combination lamp(s) were incorporated into production on May 9, 2012 starting with VIN D*601678.

Example of condensation

Repair Procedure / Information
• Verify if condensation is present in the combination lamp.
- Rear Combination and Lamp removal
note: The procedure described is for the right side. The right side and the left side procedures are the same except for the trunk/open cancel switch which is located on the left side.
• Remove the luggage compartment floor mat.

• Remove the rear floor finish plate which is attached by 3 clips.

TIP: The clips are a 2 piece design. Use a small flathead screwdriver, disengage the inner piece from the outer piece and then remove both pieces together.

• Remove the luggage compartment trim which is attached by 5 clips.

- Remove the wiring harness holder clip using a clip remover tool. note: Do not cut the wire ties.
- Disconnect the combination lamp wiring harness connector.
- Remove the 4 combination lamp nuts.

• Remove combination lamp. note: There is a guide on the outside corner. Be careful when removing the lamp not to break the guide.

•Remove the gasket, turn signal bulb / side marker bulb as a unit with the rear combination light socket & wiring sub-assy and white plastic washer (all of which will be transferred to the new combination lamp except for the gasket).
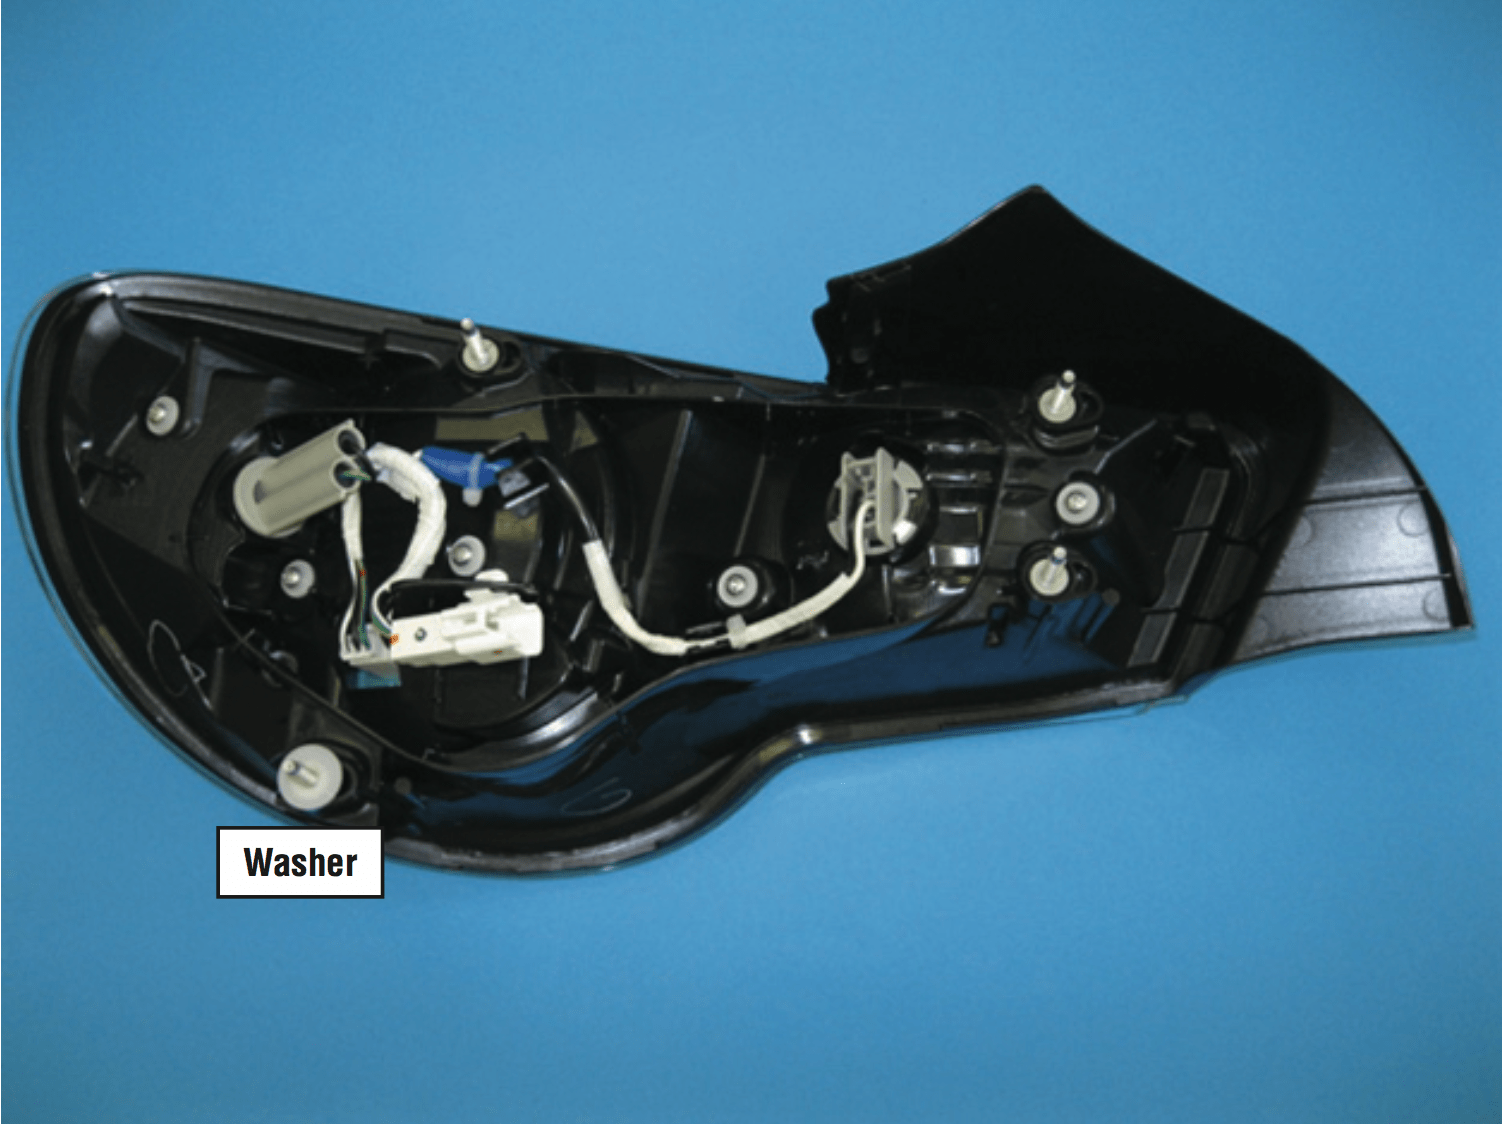
- Transfer the turn signal bulb / side marker bulb as a unit with the rear combination light socket & wiring sub-assy and white plastic washer to new lamp.
- Install new gasket (make sure it is seated properly).
- Install combination lamp and gasket in reverse order of removal.
-
caution: Failure to follow the proper tightening sequence and torque specification will result in damage to the new combination lamp. Starting with number 1, hand tighten each nut in order prior to torquing them to the final specification. Torque the nuts down in the same order.
Torque Specification: 4.5 N-m (0.46 kgf-m, 39 in.lb)

Right Side – Tightening Sequence

Left Side – Tightening Sequence
• Verify all lights operate correctly.
Copyright © 2026 | WordPress Theme by MH Themes